How to Wash a Ceramic Coated Car: The Ultimate Guide (2025)
You’ve just made a significant investment in protecting your vehicle’s paint. A ceramic coating is on your car, looking like a sheet of glass. Now comes the most important part: protecting that investment.
While a ceramic coating makes your car dramatically easier to clean, it is not a self-cleaning force field. Improper washing is the #1 way to ruin a perfect finish. Proper maintenance is the key to ensuring your coating lasts for its full lifespan and continues to look incredible.
The good news? It’s easy. You just need to un-learn a few bad habits. This guide will show you the simple, safe, and effective way to care for your ceramic coated car.
The 3 Golden Rules of Ceramic Coating Care
If you only remember three things from this article, make them these:
- NO Automatic Car Washes. The harsh, spinning brushes are filled with grit that will inflict swirl marks and damage your coating. Touchless washes are better, but often use extremely harsh chemicals that can degrade the coating. Hand washing is the only way.
- Use pH-Neutral Soap. Your coating is a chemical layer. Harsh soaps (like dish soap) can stain or weaken it. Always use a car wash soap specifically designed for coated vehicles.
- The Two-Bucket Method is Not Optional. This simple technique ensures you never introduce grit from a dirty wash mitt back onto your paint, which is the primary cause of swirl marks.
What You’ll Need: The Essential Toolkit
- Two 5-Gallon Buckets
- Grit Guards (for each bucket)
- A pH-Neutral Car Shampoo
- A Plush Microfiber Wash Mitt
- A Pressure Washer or Hose
- A Microfiber Drying Towel or Blower
The Ideal Washing Process: A Step-by-Step Guide
-
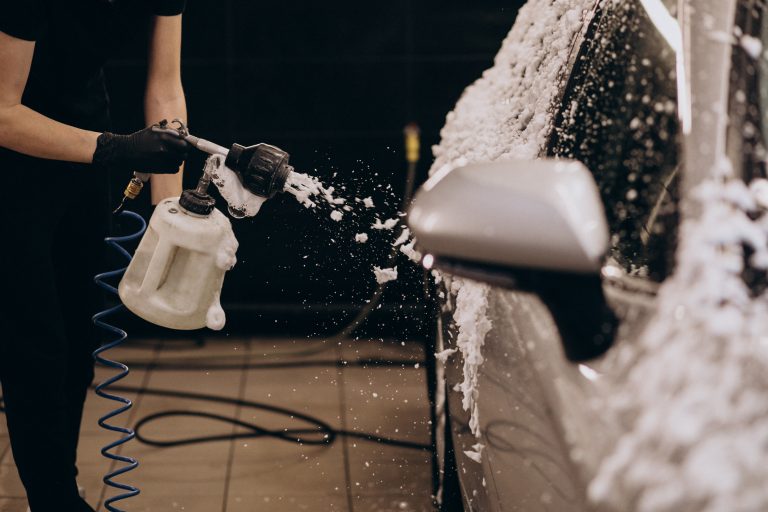
The Pre-Rinse
Start by thoroughly rinsing the entire vehicle from top to bottom. The goal is to use water pressure to knock off as much loose dirt, dust, and grime as possible before you ever touch the paint with a mitt. This is a crucial first step in preventing scratches.
-
Prepare Your Buckets
Place a Grit Guard at the bottom of each bucket. Fill one bucket with clean water (this is your Rinse Bucket). Fill the second bucket with water and add the recommended amount of your pH-neutral car soap (this is your Wash Bucket).
-
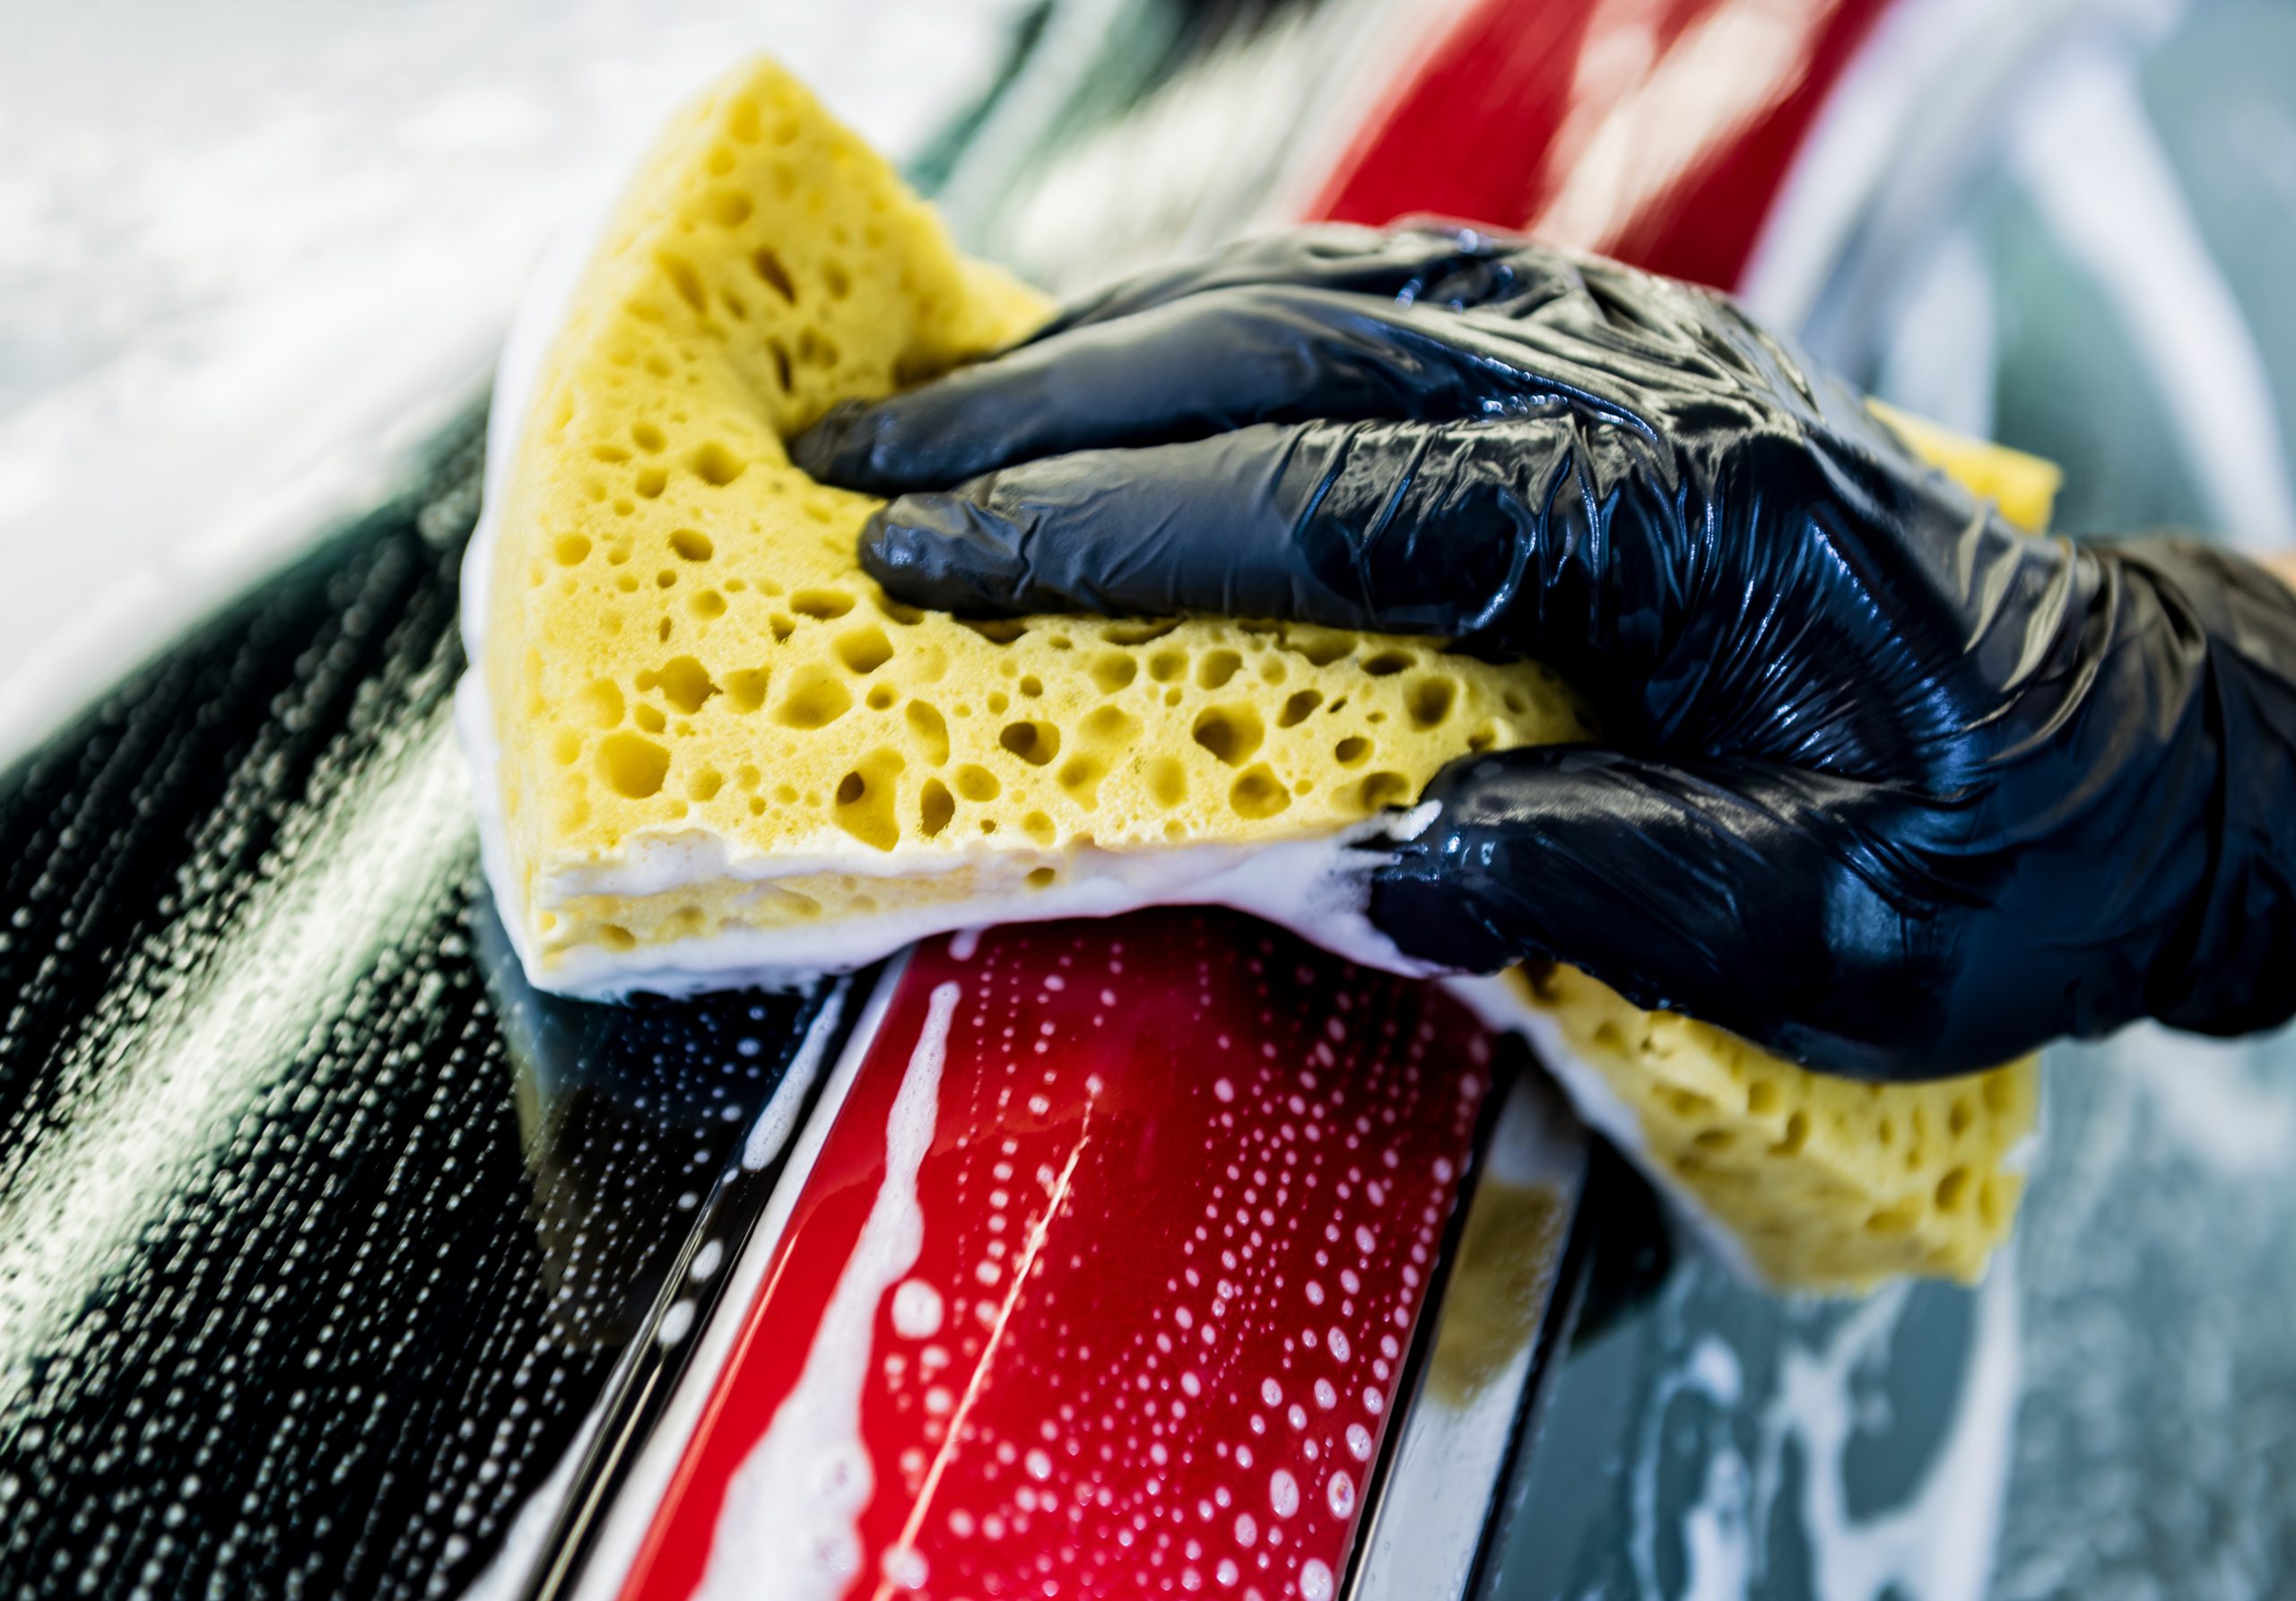
Wash, One Panel at a Time
Dunk your clean wash mitt into the Wash Bucket to load it with soapy water. Gently wash one panel of the car (e.g., the roof), using straight, overlapping lines—not circles. Before getting more soap, dunk your now-dirty mitt into the Rinse Bucket and scrub it against the Grit Guard. This releases the dirt and traps it at the bottom. Now, with a clean mitt, go back to your Wash Bucket and repeat on the next panel.
-
Final Rinse
Once the entire car is washed, thoroughly rinse off all the soap, again working from top to bottom to ensure no soap residue is left behind.
-
Drying the Vehicle
This is critical to prevent water spots. You have two excellent options: Touchless Drying (using an electric leaf blower to blast water off the surface, the safest method) or Towel Drying (using a large, plush microfiber drying towel to gently blot or drag across the surface).
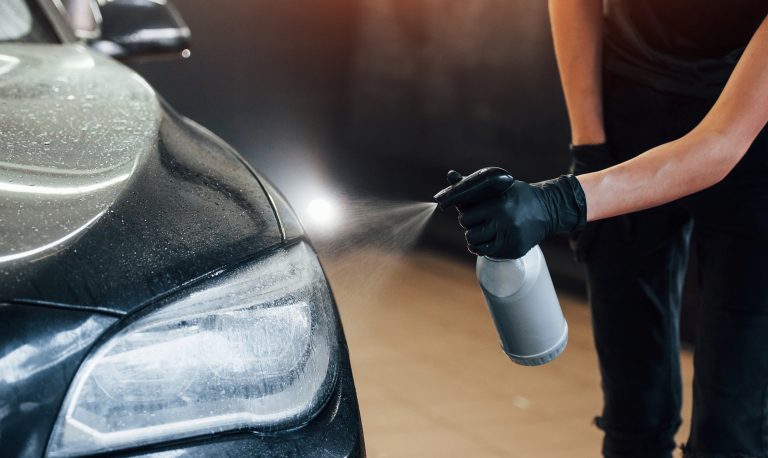
The “Secret Sauce”: Using Ceramic Toppers & Boosters
Every 3-6 months, you can give your coating a “boost.” Ceramic toppers or SiO2 detail sprays (like CarPro Reload or Gyeon Cure) are easy-to-use spray-on products that rejuvenate your coating.
They add a fresh layer of slick, hydrophobic protection on top of your existing coating, restoring that “just-coated” water beading and adding extra gloss. It’s a simple step that adds only 15 minutes to your wash process but makes a huge difference in performance and longevity.
Need Help Choosing the Right Products?
A professional detailer doesn’t just install your coating; they are your resource for after-care. They can recommend the exact soaps, toppers, and towels that work best with the coating they’ve installed.
Find a Detailing Professional and PartnerSimilar Posts
The 5 Essential Products for Your Ceramic Coating Maintenance Kit (2025)
You’ve made the smart decision to protect your vehicle with a ceramic coating. Now, how do…
The Best Car Wash Detailing Equipment: A Buyer’s Guide (2025)
The single most common cause of swirl marks and fine scratches on a car’s finish isn’t…
Are Waterless Washes Safe for Ceramic Coatings? An Expert Analysis
The concept of a “waterless wash” is one of the most debated topics in detailing. It…
Gyeon Q²M Iron Review (2025): The Decontamination Secret Weapon?
You’ve washed your car. You’ve clayed it. You think the paint is perfectly clean. Then you…
The 3 Best Iron Removers for a Deep Decontamination (2025)
A standard car wash removes dirt, but it does nothing to address the invisible enemy bonded…
How to Decontaminate Your Car’s Paint: A 3-Step Pro Guide
You wash your car every week, but somehow, it never feels truly, deeply clean. Even after…